
Beautiful Plants For Your Interior
Beautiful Plants For Your Interior

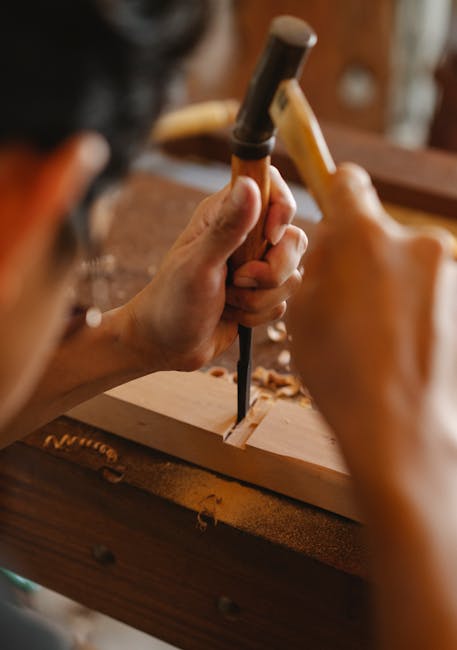
Wood carving is a rewarding craft that allows you to create unique, stylish accessories and decorations by hand. Whether you are completely new or have some experience with DIY projects, learning the basics of wood carving can boost your confidence and help you make beautiful, personalized items. This guide breaks down essential techniques, tools, and tips to get you started with wood carving right at home.
The right tools make wood carving easier and safer. For beginners, you don’t need expensive or professional-grade equipment. Basic tools can deliver excellent results. Here’s a quick overview:
Investing in quality beginner tools pays off. Blunt or poor tools make carving harder and unsafe.
Not every wood type is friendly to beginners. Some are too hard or have uneven grain, which can lead to frustrating results, especially in detailed work.
| Wood Type | Advantages | Disadvantages | Best Uses |
|---|---|---|---|
| Lime (Basswood) | Soft, fine grain, easy to carve | Softness means easy dents if careless | Detailed carving, small accessories |
| Pine | Affordable, widely available | Has knots, harder grain in places | Simple shapes, painted projects |
| Butternut | Light-weight, consistent grain | Softer than hardwood; less durable | Decorative items, wall hangings |
| Cherry | Beautiful color, fine grain | Harder and more expensive | Smooth finishes, high-end pieces |
| Oak | Very durable, attractive grain | Hard to carve, needs sharp tools | Large sculptures, furniture accents |
For beginners, lime (basswood) is the best choice. It carves easily and shows detail well.
Mastering a few fundamental cuts provides a solid foundation. Start with these:
Practice these on softwood before moving to more difficult projects.

Safety is crucial. Even small tools can cause injury if you aren’t careful. Follow these tips:
Starting with simple projects builds both skills and confidence. Here are some beginner-friendly ideas:
These projects require minimal materials but let you explore different carving styles.
“Don’t rush your first cuts. Start by learning how your tools feel and respond to pressure. It’s better to take off a little wood at a time than to remove too much and ruin your piece.”
Avoiding simple mistakes saves time and frustration. Here are five common pitfalls:
Keeping your tools in shape is part of the craft. Regular sharpening improves precision and safety.
Use a sharpening stone or sandpaper to gently hone edges. Always follow the blade’s original angle when sharpening. After sharpening, wipe blades clean and apply a light coat of oil to prevent rust.
“Sharpen tools frequently rather than waiting until they’re very dull. This habit makes carving smoother, faster, and safer.”
Once your carving is complete, finishing adds style and protects the wood.
Test finishes on scrap wood to see how they affect your piece.
Absolutely. Many people find wood carving relaxing and rewarding. Over time, you can create unique, handcrafted jewelry or accessories to gift or sell online. Building a personal style and mastering techniques grows with experience.
“Start simple and focus on mastering fundamentals. Your confidence will grow, and your style will develop naturally as you explore different woods and finishes.”
| Tool | Purpose | Pros | Cons |
|---|---|---|---|
| Carving Knife | Detailed shaping and whittling | Precise, easy control | Needs regular sharpening |
| Gouge | Curved cuts for scooping wood | Good for rounded shapes, hollowing | May require mallet, harder to control |
| V-tool | Cutting lines, chip carving | Creates sharp texture and detail | Requires practice for clean lines |
| Mallet | Tapping gouges for deeper cuts | Assists in controlled carving force | Not needed for all projects |
Wear protective gloves, always carve away from your body, and keep your workspace clean and well-lit.
Choose soft woods like basswood, carve with the grain, and use sharp tools to make controlled cuts.
Natural oils and waxes are safest and most attractive, keeping the wood skin-friendly and durable.
Wood carving is a beginner-friendly craft that opens doors to unique DIY accessories and stylish handmade gifts. Start with the right tools, choose beginner woods like basswood, and learn essential carving techniques slowly and safely. Avoid common mistakes like dull tools or carving against the grain. Maintain your tools well and finish your pieces with natural oils or wax to keep them looking great. Most importantly, practice patience and enjoy the creative process.
Now is the perfect time to pick up a carving knife and explore the rewarding world of wood carving.
